Safety in the Field: Part 1
Across the country, we are slowly transitioning from winter into spring and many groups are preparing for a season of fieldwork. While it is more exciting to think about all of the data to be collected, it is equally important to refresh your team on fieldwork safety and prepare them with the right knowledge and tools in the event of an accident. To help you with some of the groundwork, we are developing a two-part article focused on safety in the field including tips for avoiding hazards, how to recognize hazards before they become dangerous, and best practices for responding to an emergency. Consider sharing these posts with your lab or team members and using these as discussion points for the conditions that you might encounter in your specific environment.
Note: This is not intended to be a comprehensive resource for wilderness safety and first aid, but instead highlights some common hazards that you might encounter and summarizes response strategies developed by professionals. You should always refer to the most current guidelines issued by appropriate training agencies, such as the American Heart Association for CPR protocols.
Part 1: Water safety
Hypothermia
What to look for
Hypothermia occurs when the body’s temperature drops below 95°F (35°C). Exposure to cold air or cold water can cause this drop in temperature. Hypothermia may also occur in seemingly warm water if the person is submerged for a long period of time. Symptoms include: involuntary shivering (which may stop after the body temperature drops), confusion, mumbled speech, shallow breathing, or drowsiness.
How to respond
If someone is hypothermic, it should be treated as an emergency situation. Call 9-1-1 or your local emergency number. While waiting for emergency response personnel to arrive, take the following steps:
- Always treat the person gently or their body may start to go into shock.
- Remove the person from the source of the cold or reduce the effect by protecting them from wind or by insulating them from the ground.
- Carefully remove any wet clothing and replace with warm, dry blankets or non-constricting clothes. Focus on slowly rewarming the core of the body first.
- If they can swallow, offer them something that warm to drink but do not give them anything containing alcohol or caffeine.
- Be aware that if the person becomes unconscious and does not show any signs of life (no breathing or movement), you will need to begin CPR procedures.
Read more: https://www.mayoclinic.org/first-aid/first-aid-hypothermia/basics/art-20056624
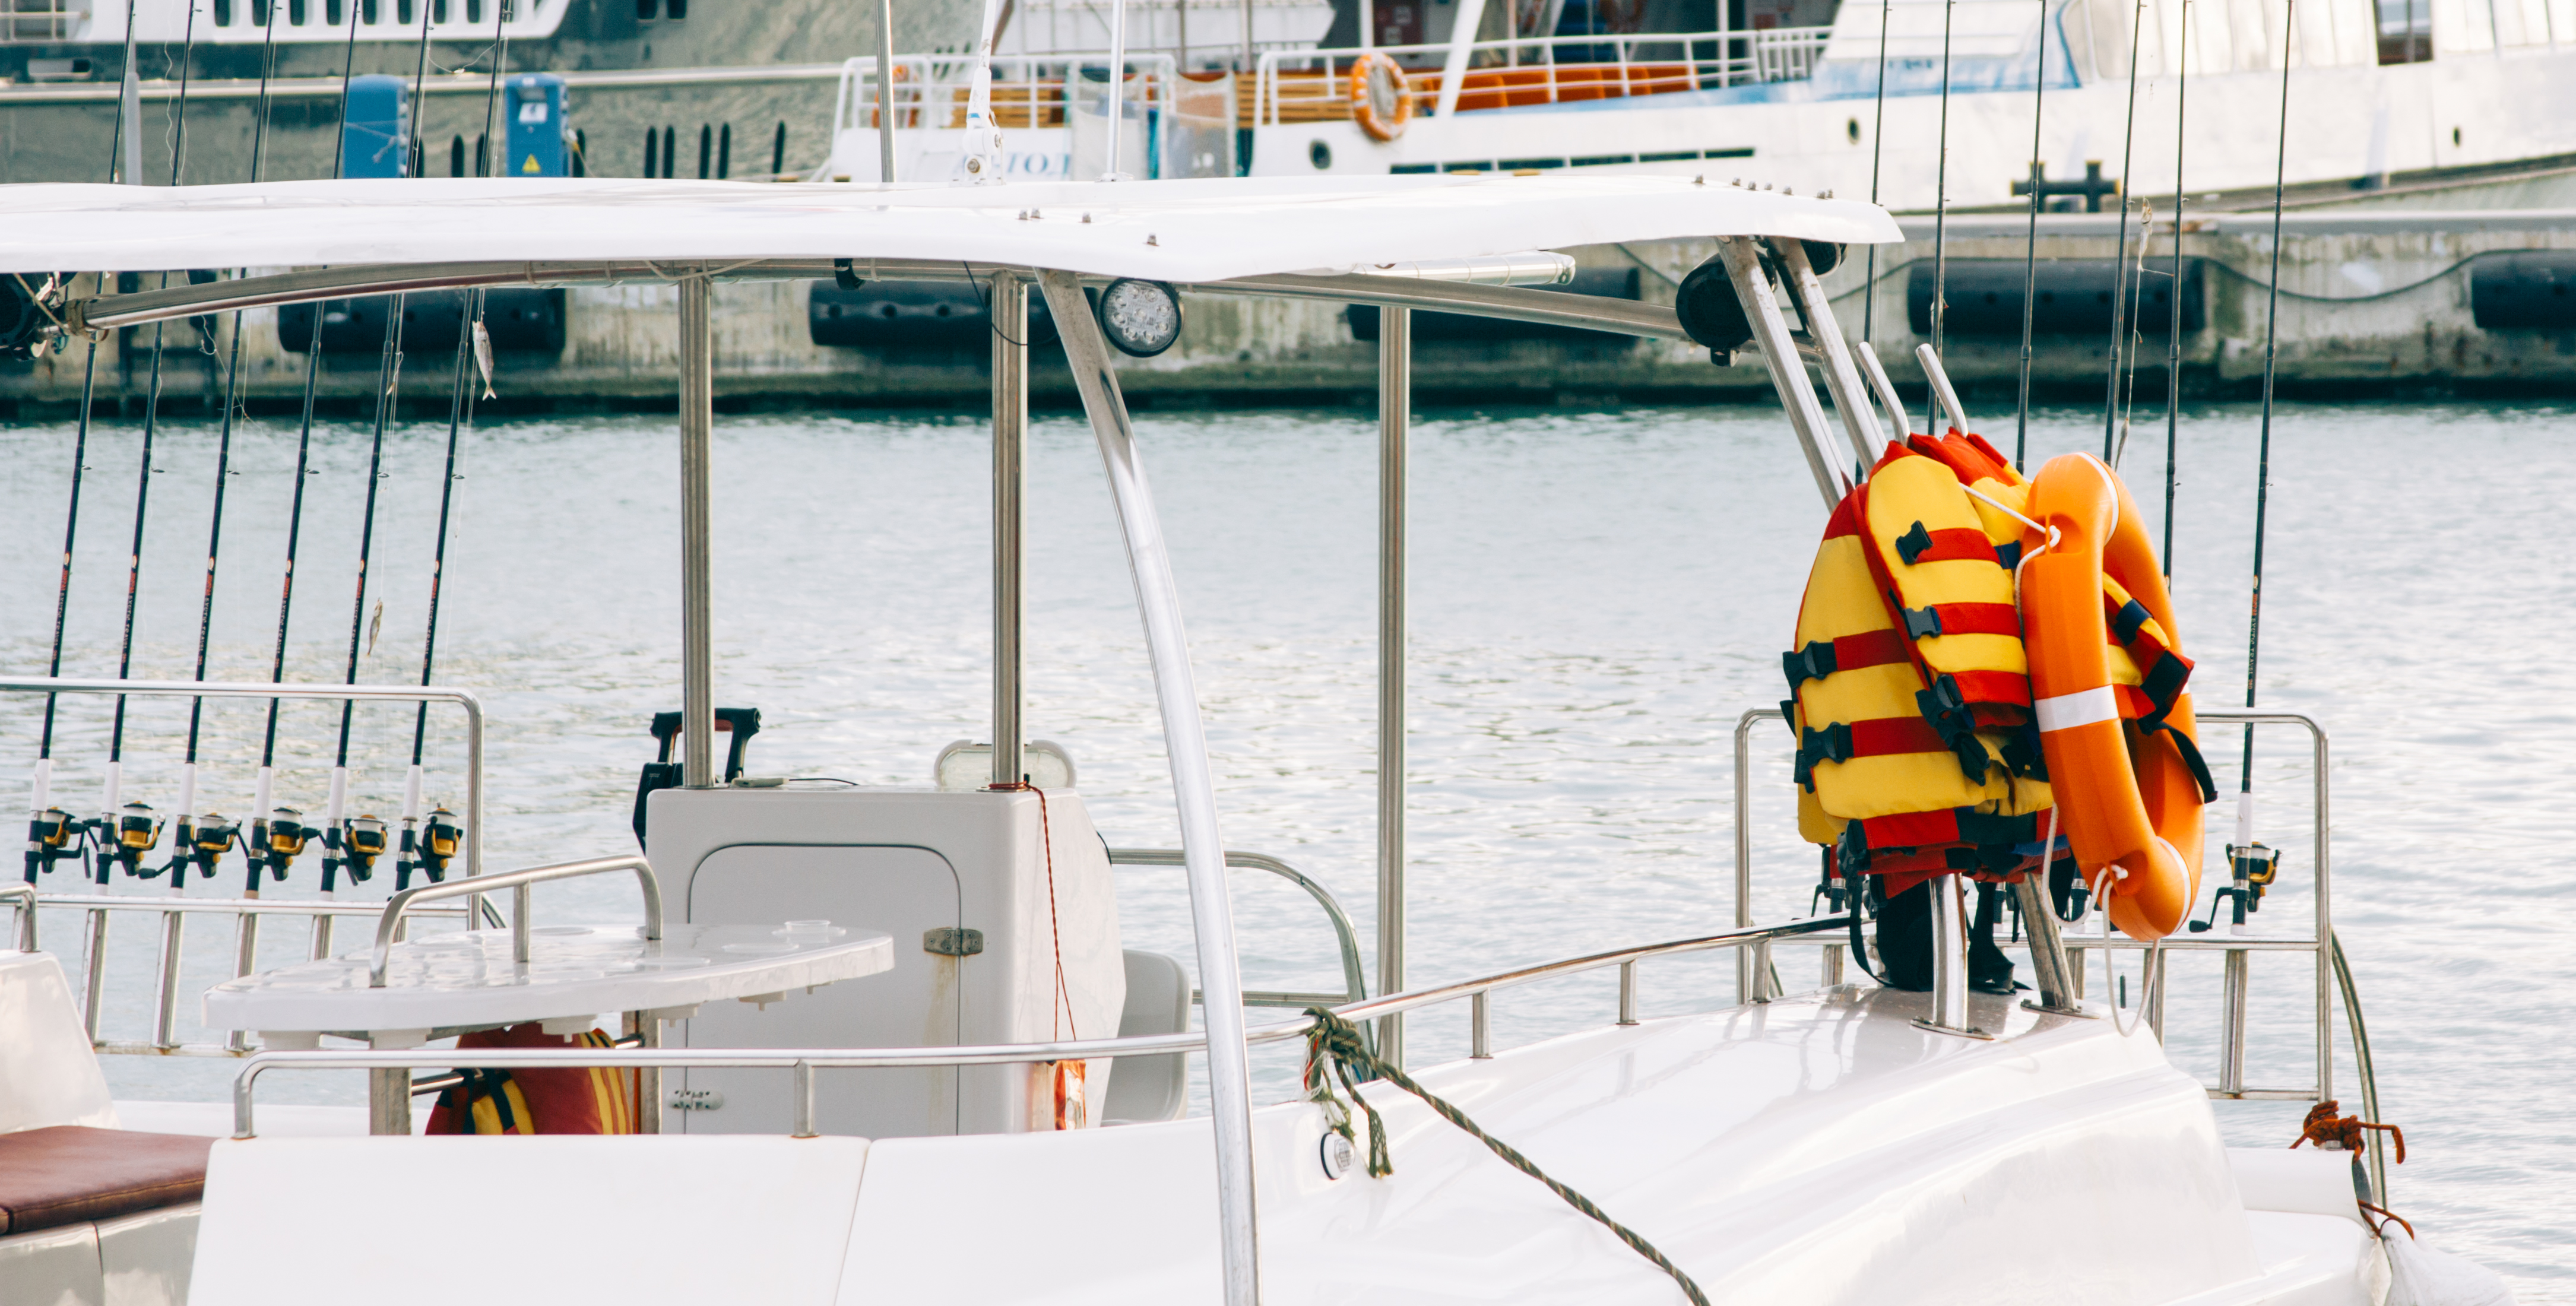
Personal floatation devices on a boat. Credit: Igor Starkov.
Drowning
What to look for
Unlike what is portrayed in movies and TV shows, drowning victims do not shout or make large splashes when in distress. Because they are struggling to keep their head out of the water in order to breathe, a drowning person cannot call for help and typically have their arms by their sides as they attempt to push the water down. A sign that may occur directly before the person sinks underwater is that their head tips backwards in an effort to keep their mouth and nose clear. This action reduces their buoyancy and can cause them to sink.
How to respond
If you see someone who is showing signs of drowning, it is important to act quickly but carefully.
- Reach – Try to make contact with the person by extending a fishing rod, oar, branch, or other object. If nothing is available, lay flat on the boat or dock and reach with your hand to grab the victim’s hand or wrist.
- Throw – If the person is too far away to reach, throw a PFD, line, or other floating object for them to hold onto.
- Row – If available, use a boat to retrieve the person. In a rowboat, maneuver so the person can hold onto the stern but do not attempt to lift them inside. If they are too weak, hold on to them until help comes. If you are using a engine-powered boat, stop the engine and glide up to the person approaching from the downwind side to avoid striking them.
- Go – A swimming rescue should only be performed by trained individuals. A single drowning victim can quickly turn to two if the rescue is conducted improperly. If you have no other option and decide to attempt at swimming rescue, take something buoyant with you to keep between yourself and the victim. Keep in mind that a panicked person may attempt to climb on top of you in order to breathe better – be prepared for this possibility.
Read more:
https://www.boat-ed.com/pennsylvania/studyGuide/Reach-Throw-Row-or-Go-Step-by-Step/101039_101039187/
https://www.youtube.com/watch?time_continue=6&v=X1mVcSUttX4
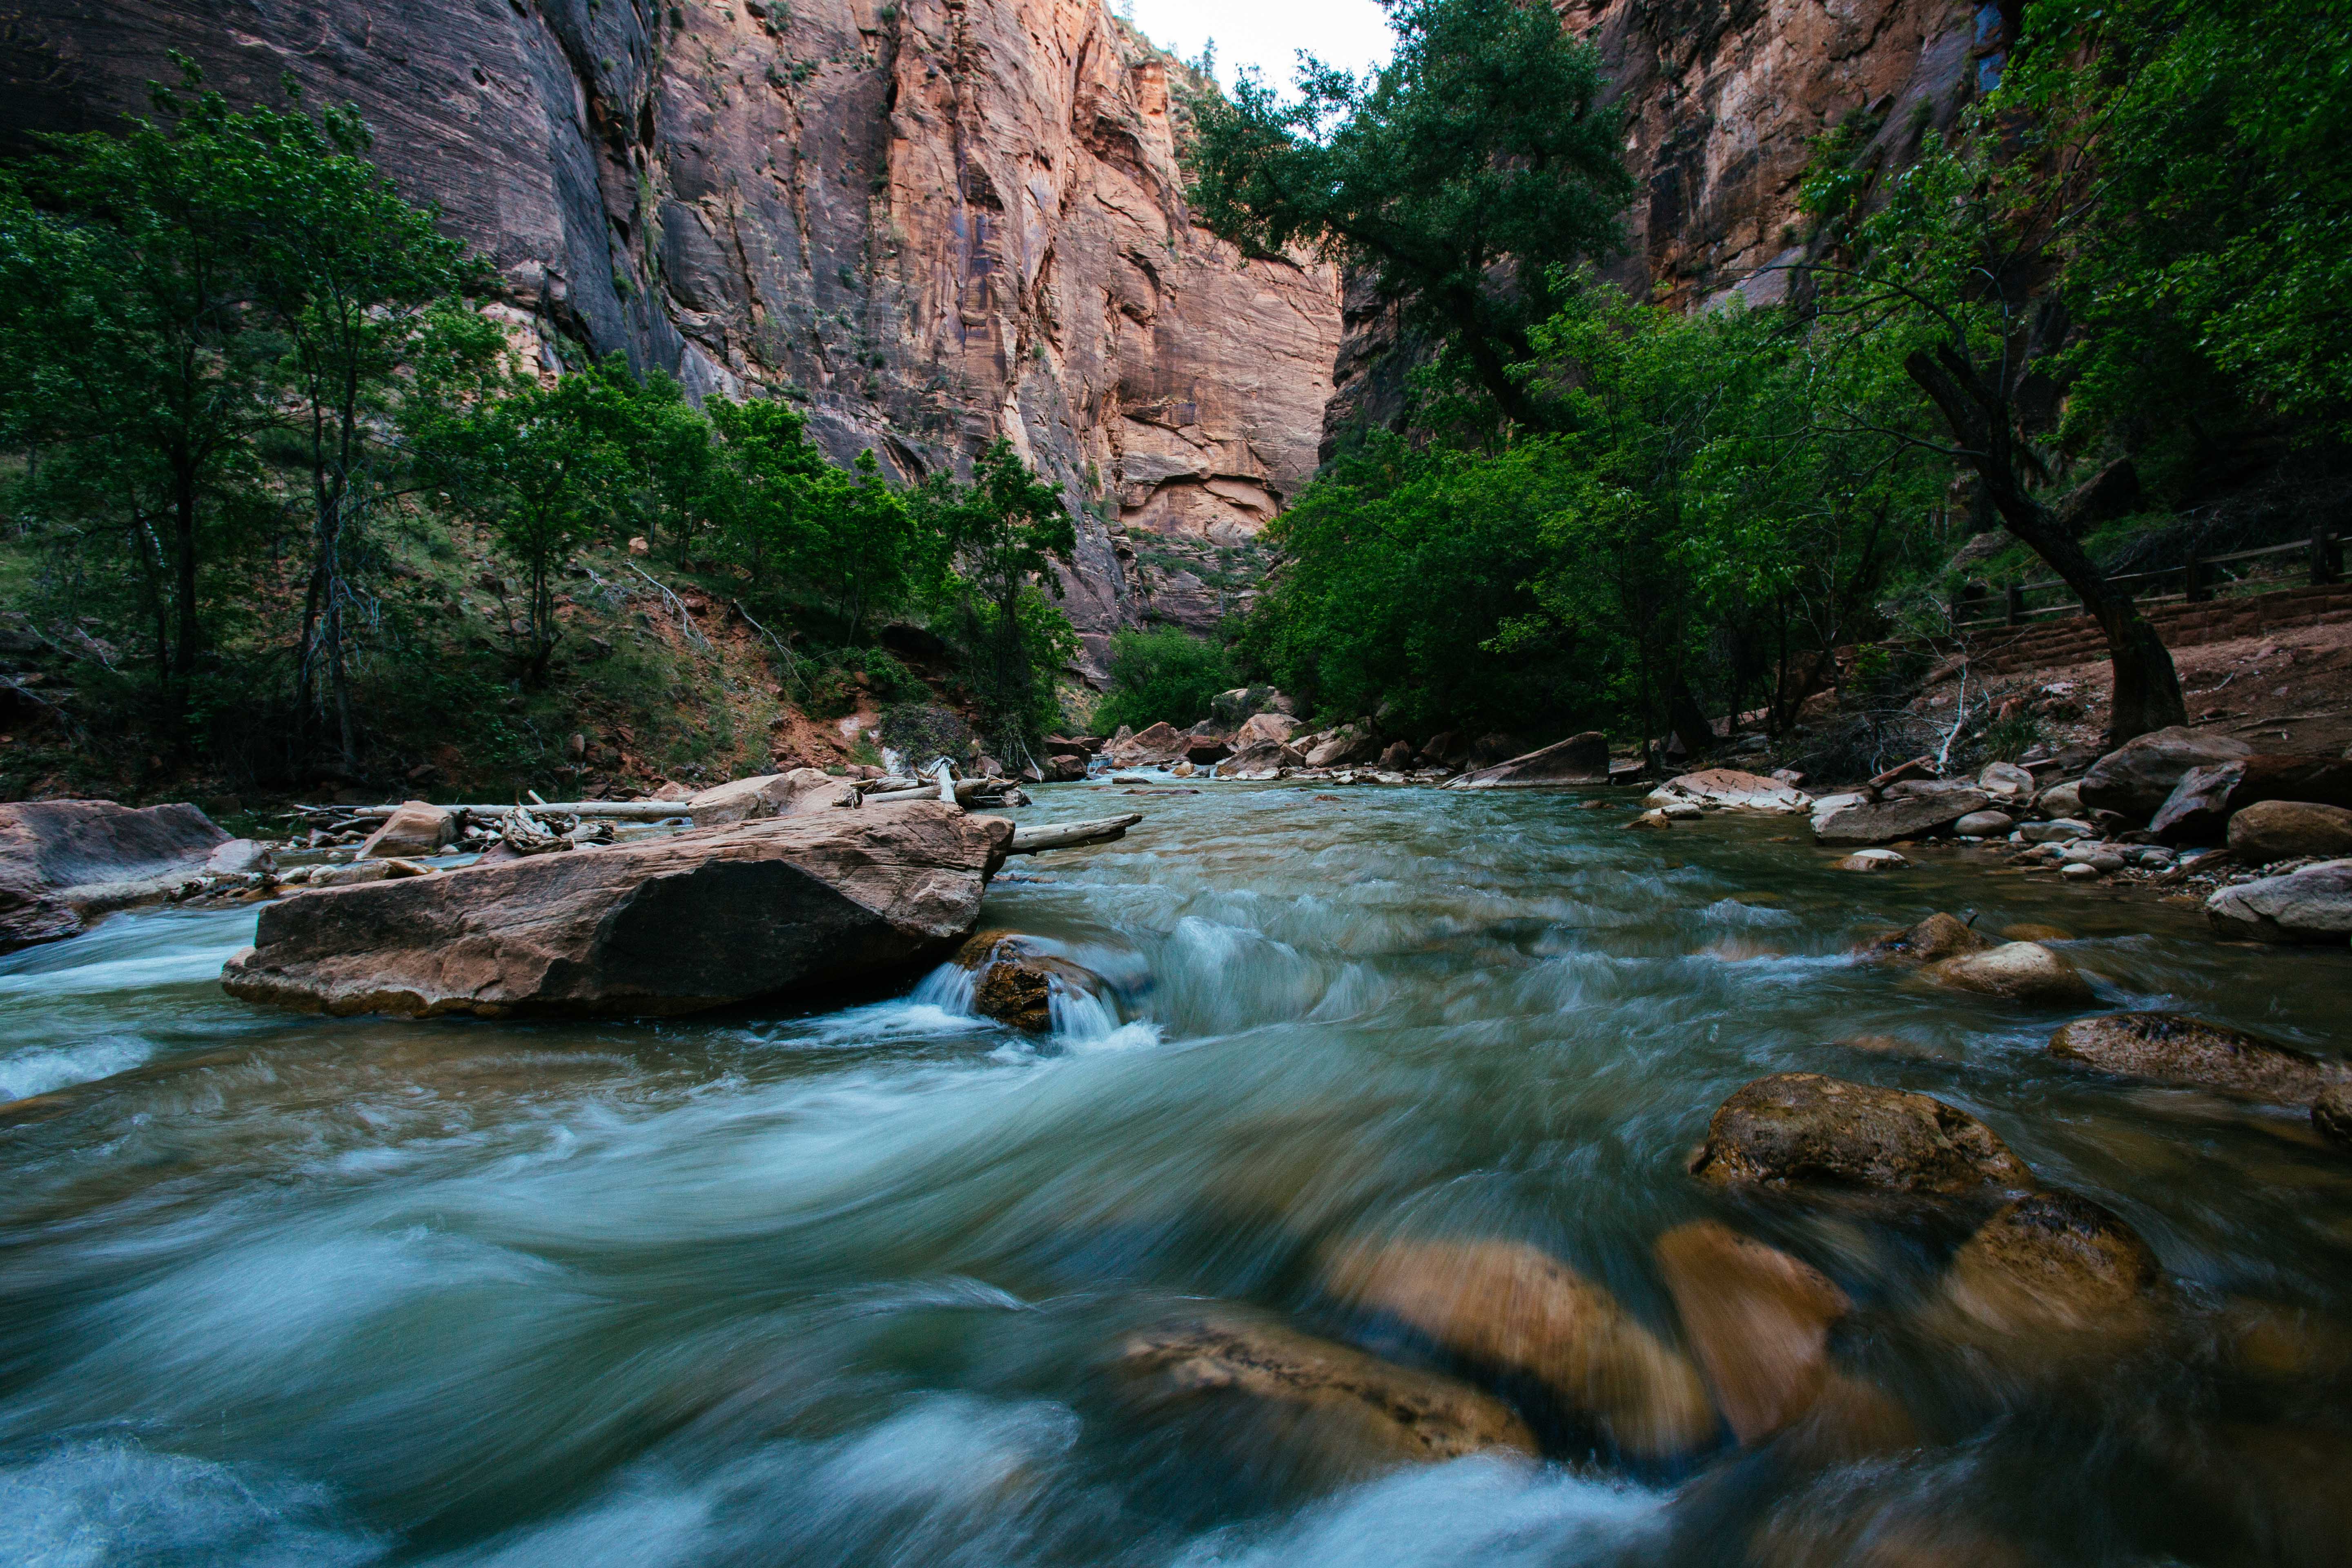
River through a canyon. Credit: Taras Makarenko.
Rivers: Strainers
What to look for
Strainers are any type of natural or man-made object that obstructs a person but water can flow through. They pose a danger to swimmers and boaters because pressure of the flowing water around the person can cause a force too great for an individual to overcome and may lead to drowning by pinning the person underwater. A submerged log or tree may be practically invisible until it is encountered. But other types of strainers, such as those that occur at the water line, are more easily avoided. Bridge pilings and fishnets or fish traps are examples of man-made items that could act as a strainer.
How to respond
Always be aware of the area where you are working and where potential hazards are located. If you end up in the water and think you are about to encounter a strainer, try to position yourself so that you’re feet first and your body is as high as possible on the strainer. Use your hands to push your body up while also kicking with your legs.
*Do NOT attempt to practice this technique on a real strainer. Instruction and practice should only occur within a supervised and controlled environment.
For more detailed steps of escaping a strainer visit: https://www.mayoclinic.org/first-aid/first-aid-hypothermia/basics/art-20056624

River crossing. Credit: Donald Tong.
Rivers: Safe crossing
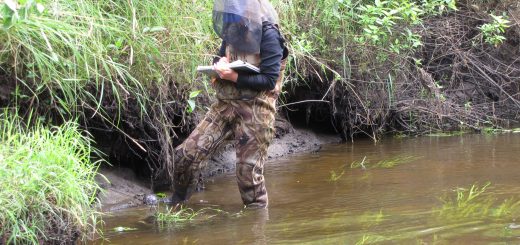
Crossing a river may seem like a simple undertaking but should always be approached with caution. The river may be deeper than it appears, footing is often uneven, and flowing water can exert a surprising amount of force. Always seek out alternative options to avoid crossing a river if possible. A little extra time to use a nearby bridge reduces all risk involved with a crossing. However, sometimes the only option is to get your feet wet in the pursuit of the other riverbank.
Before jumping in, take the time to pick a good entry point and plan for where your exit will be. You might want to pick an exit that is slightly downstream so that you don’t have to fight against the current to reach it. You also want to make sure that you don’t try to exit the river where the banks are high, steep, or the vegetation is excessively thick. Next, identify if there are any objects in your planned path such as boulders, logs, or debris. A large boulder may be useful for stability, but a partially submerged log is a hazard if you get entangled. Bring along a friend or a walking stick for stability. Avoid water that is flowing at a rate faster than you can walk (toss in a branch or pinecone to test) and water that is higher than your knee. If you are at a narrow point in the river, consider walking upstream or downstream to find a more wide area so that the current is not as swift. If you are carrying a backpack, loosen the straps and unclip any hip or chest straps so that you can ditch the pack if you slip and fall into the water.
Read more: https://www.outsideonline.com/2199876/how-ford-river
https://www.theadventurejunkies.com/how-to-cross-a-river-safely/
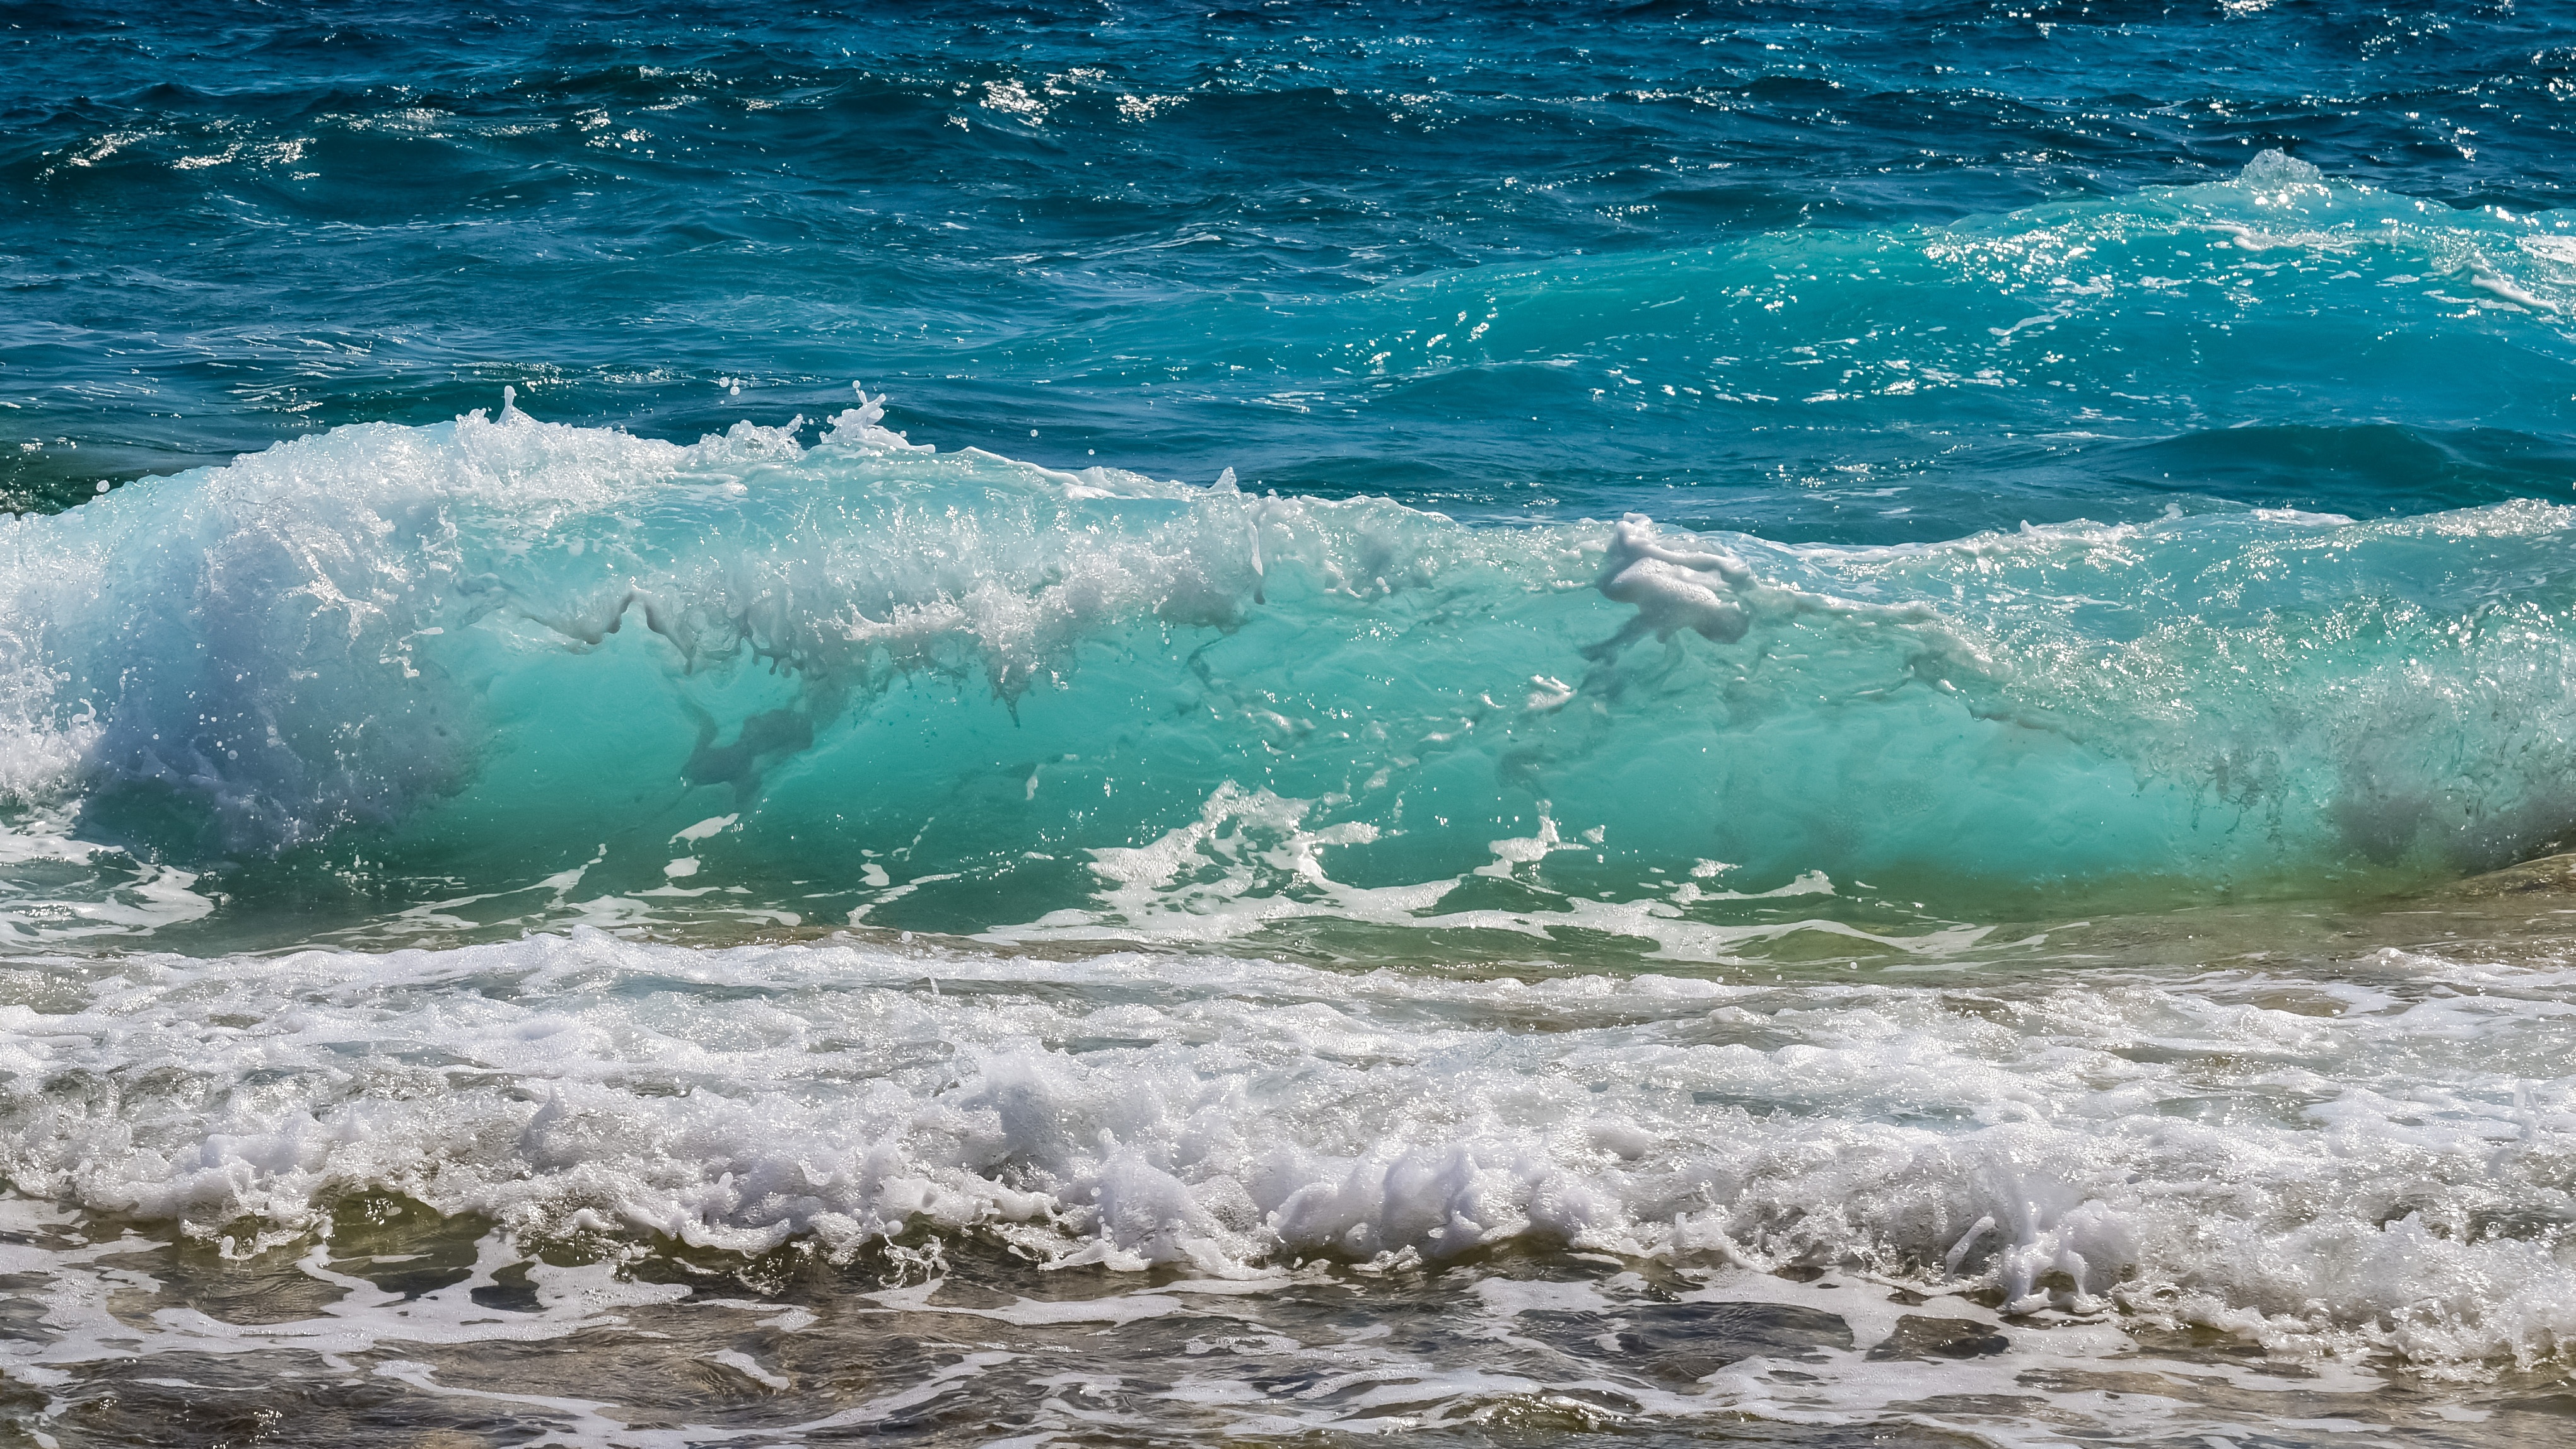
Ocean waves. Credit: pixabay.com.
Ocean: Rip currents
What to look for
A rip current is a strong current that occurs near a beach and moves directly away from shore. They are hazardous for people swimming or wading near shore because they can start suddenly in an area where there wasn’t a rip current prior. When viewed from the shore, rip currents have several characteristics that make them easy to identify. These include: a distinct break in wave pattern where there is a patch of flat water with waves on either side, there may be a line of foam or debris as the current carries water away from the beach, and the water within the rip current may be darker or muddier than the surrounding water.
How to respond
Rip currents may flow fast enough that even a strong swimmer cannot over come by swimming directly against it. However, most rip currents are relatively narrow so a person caught in the current can escape by swimming at a right angle – or along the beach – until they are outside of the current and can approach the shore again. The important point is to not panic or exhaust yourself while trying to swim against the current. Instead, let yourself be carried and float until you are outside of the current or it has subsided.
Read more: http://www.ripcurrents.noaa.gov/
Stay tuned for Part 2: Sun and Heat Safety!